
Throughout our blog series, 5 DIY Cyber Security Skills Every IT Professional Needs to Master, we have looked at skills and tools that are useful for cyber handy men and women. Much like being able to use a hammer, screwdriver, drill, or saw, having the ability to use virtualization, nmap, understand code, and the command line enables many other DIY tasks.
In this blog, we’re getting to the edge of the cyber handyman department. Vulnerability scanning presents the cutoff point before calling in the professionals. There are still some parts of vulnerability scanning you can handle quite easily on your own, however, there are other tasks best left to the professionals.
Let’s go over some of the tools you can master to run some very basic vulnerability scanning.
First and foremost, it’d be wise to become familiar with Kali Linux — arguably the most well-known Linux distribution designed for penetration testing. Almost all the tools I’ll discuss here are installed by default on Kali. If you can use virtualization, deploying a Kali image should be a trivial task.
Also, we’re not only discussing vulnerabilities that have a CVE (Common Vulnerabilities and Exposures) number; these tools can help you find things likes directory listings, available admin pages, and other potential risks. Let’s take a closer look at the tools:
Nikto
My first go-to for any web application scan is nikto. As a web server scanner, nikto searches for known vulnerabilities as well as potential misconfigurations that could introduce security issues.
Wpscan
If you have a WordPress installation, this is a great tool. Wpscan checks for known vulnerabilities and common misconfigurations. Here is your basic usage:
![]()
Nmap
Yes, that’s right, nmap is back again! Using the Nmap Scripting Engine (NSE), we can scan a system for vulnerabilities by the category “vuln.” Let’s look at an overly simple example:
![]()
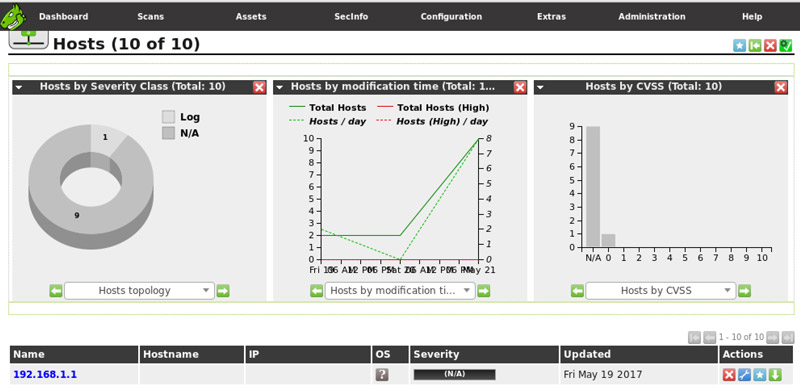
Moving beyond the command line, the first relatively easy option is OpenVAS (Open Vulnerability Assessment System). This is more of a platform that allows you to customize targets and scans, generate reports, and provides dashboards that display information in graphic form. Using OpenVAS to maximum capacity requires a bit of learning, but you can use wizards and defaults for some of the basic tasks.
Summary
Using these tools to scan your systems (that you are authorized to scan) can provide a relatively accurate picture of known vulnerabilities. However, this is about the point where the cyber handyman needs to call in the professionals. With more advanced tools and technical knowledge, experts move beyond simply scanning for vulnerabilities into penetration testing.
Testing for weak passwords and social engineering, finding application or network configuration issues, and escalating privileges provides a more realistic picture of the technical security of a network. While the cyber handyman can find a broken lock in the house, only the professionals can tell if your foundation is crumbling.
As I mentioned in our very first blog in the blog series, being a cyber handyman is really all about getting the job done with the tools you have. It’s about making progress, adding skills that don’t currently exist in your team, and staying afloat until you can get the professionals to come in.
Learn more about our professional and managed security services, and stay tuned for additional cyber handyman tips in our future blogs.
Matt Kuznia is the strangest mix of things you can imagine. He’s part musician, black belt, snowboarder, computer geek, Baltimore Orioles fan, runner, and of course, DIY’er (cyber and otherwise).
You can follow him on Twitter, @understateme, for his latest #cyberhandyman tips and tricks.